Red Hat Enterprise Linux 10
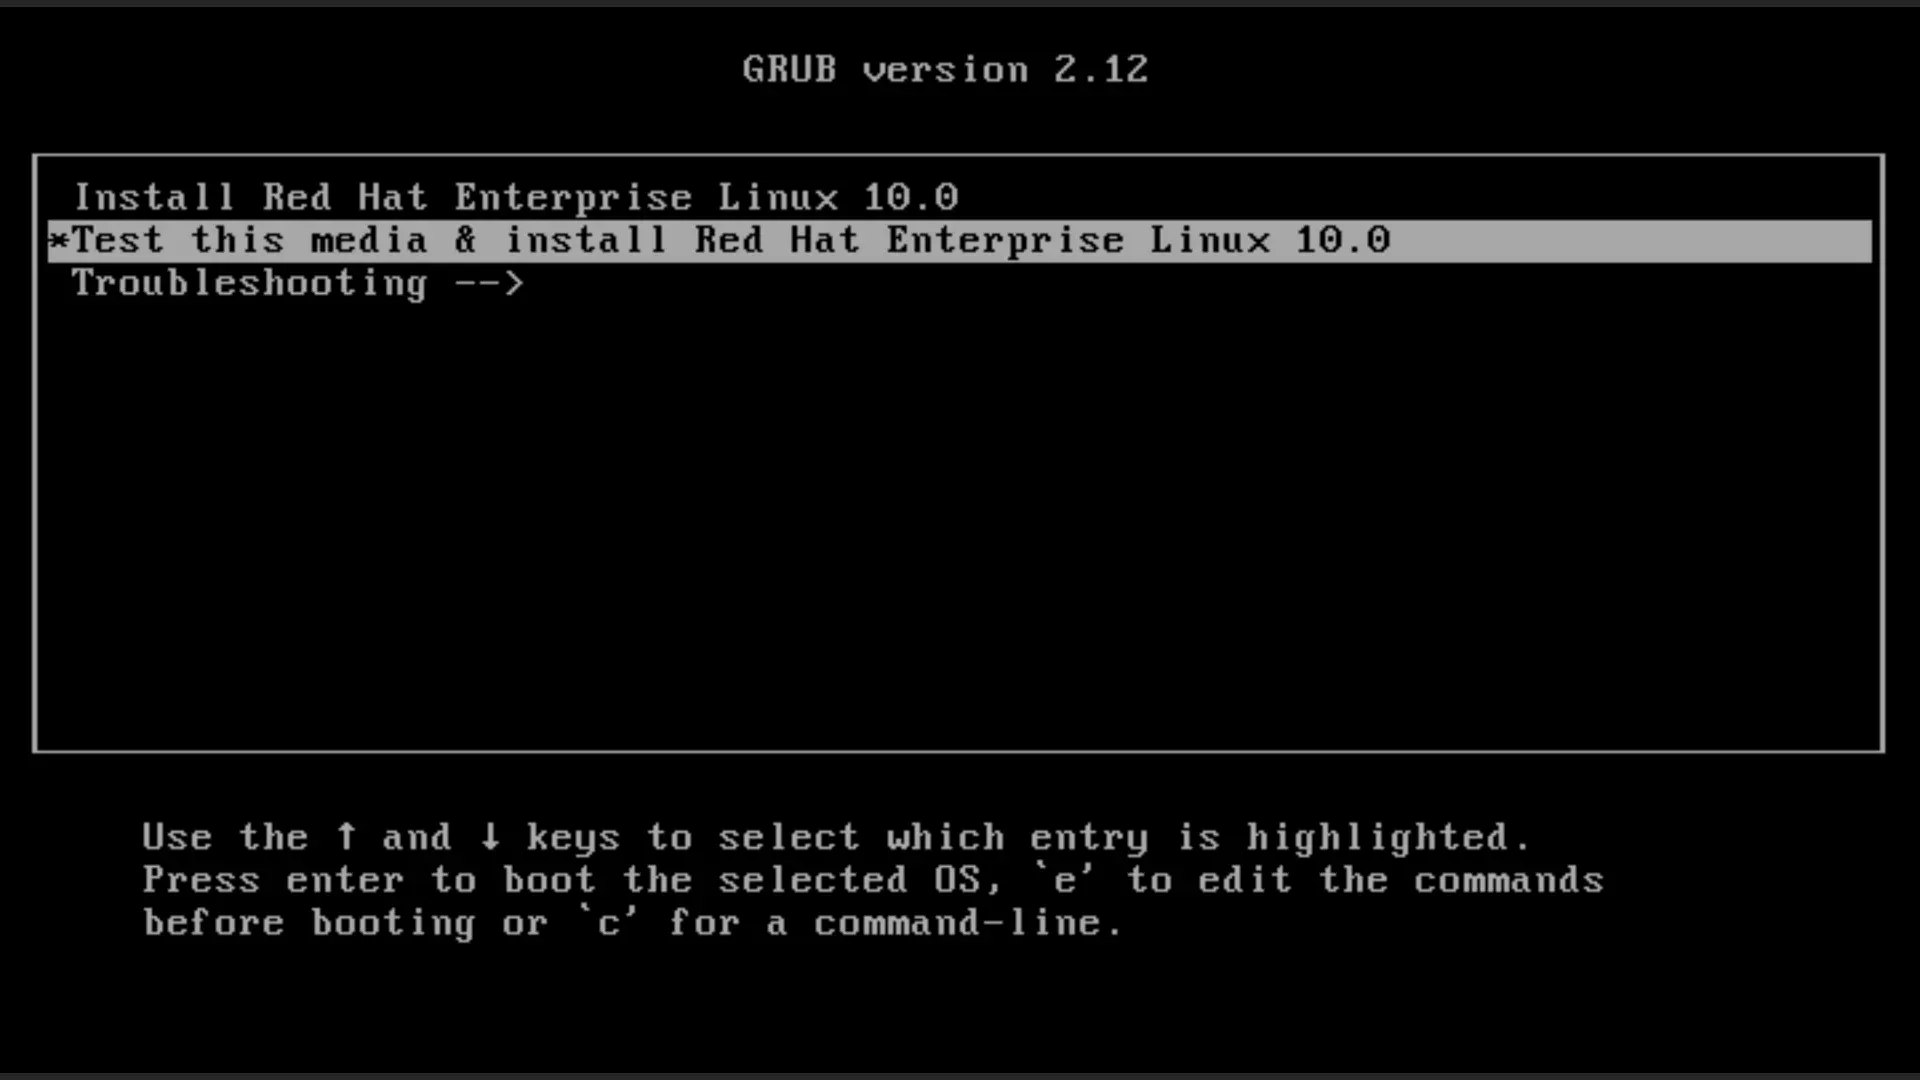
- Begin by making a bootable USB or mounting iso if building a VM.
- While not necessary, it's a good practise to "Test the installation media" before installation.
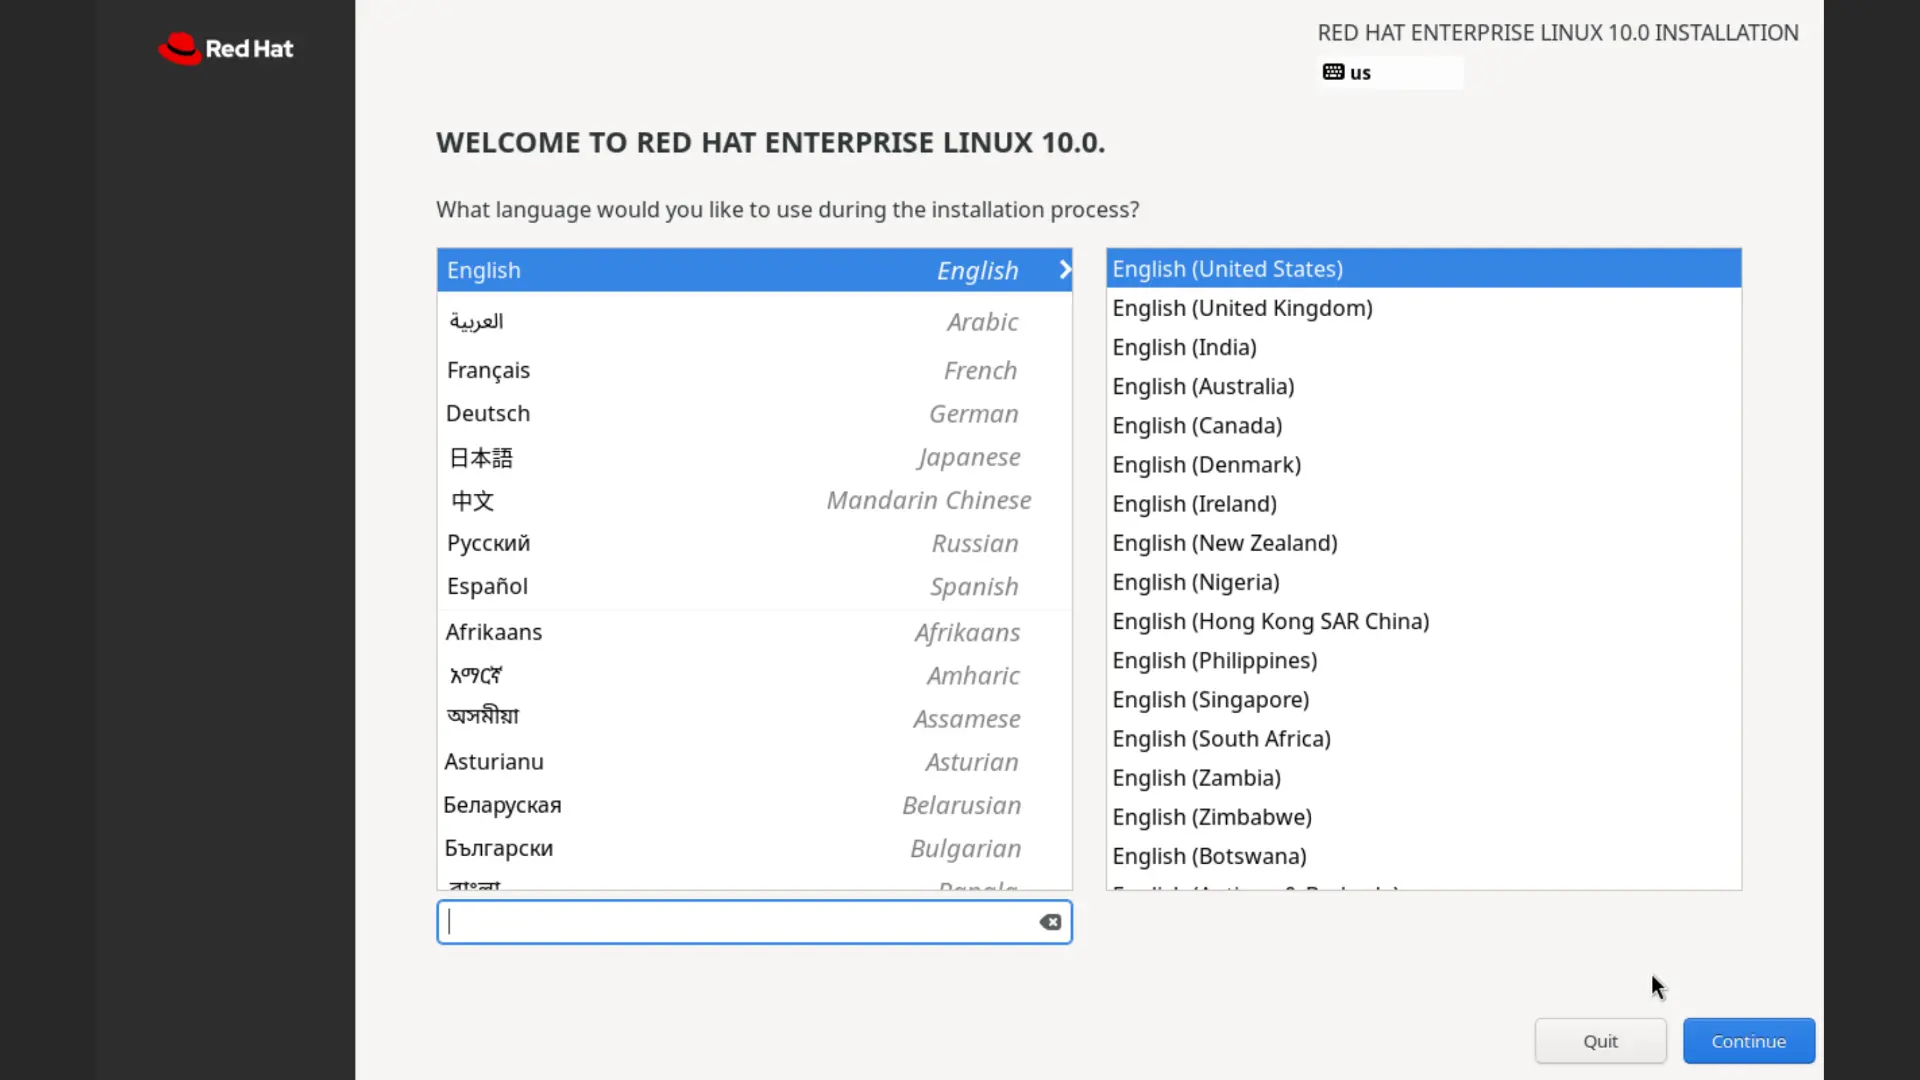
- Select Language: Choose your preferred language for the installation process.
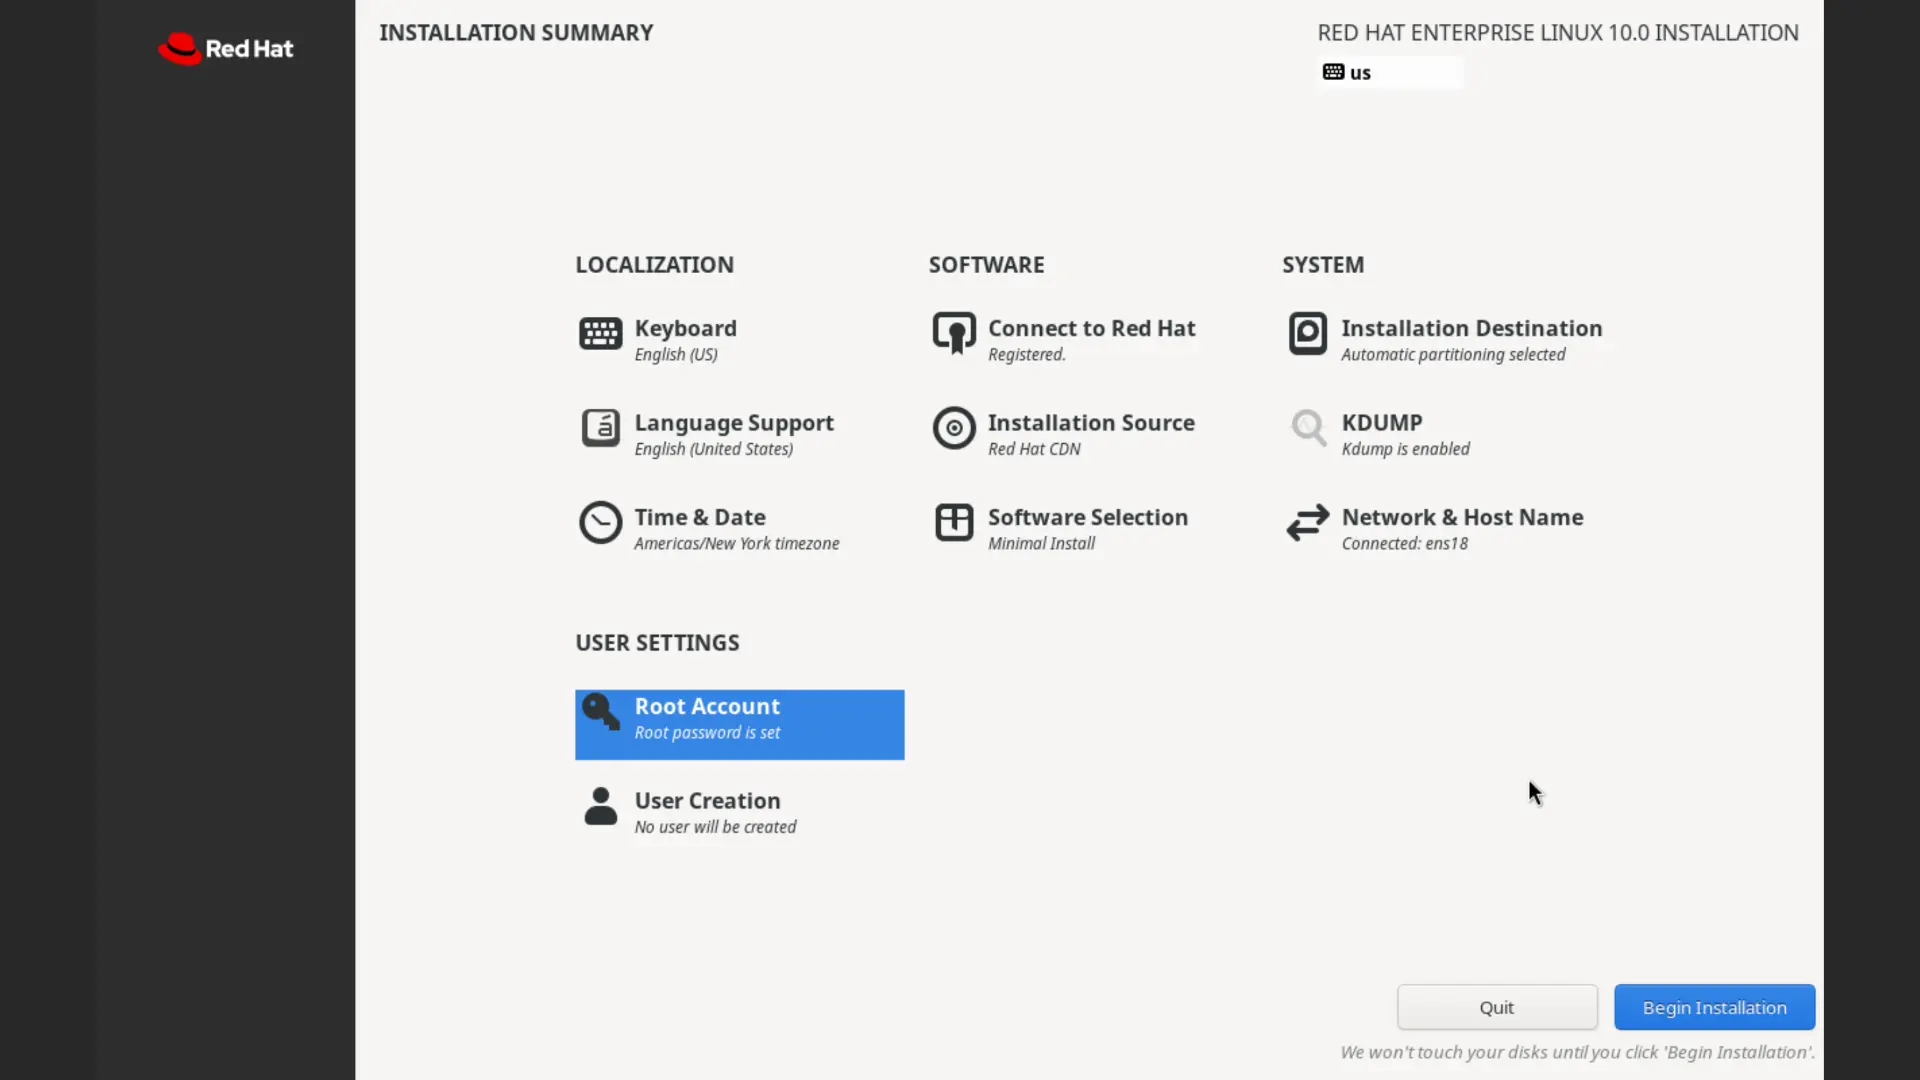
- Installation Summary: This screen allows you to configure various settings like:
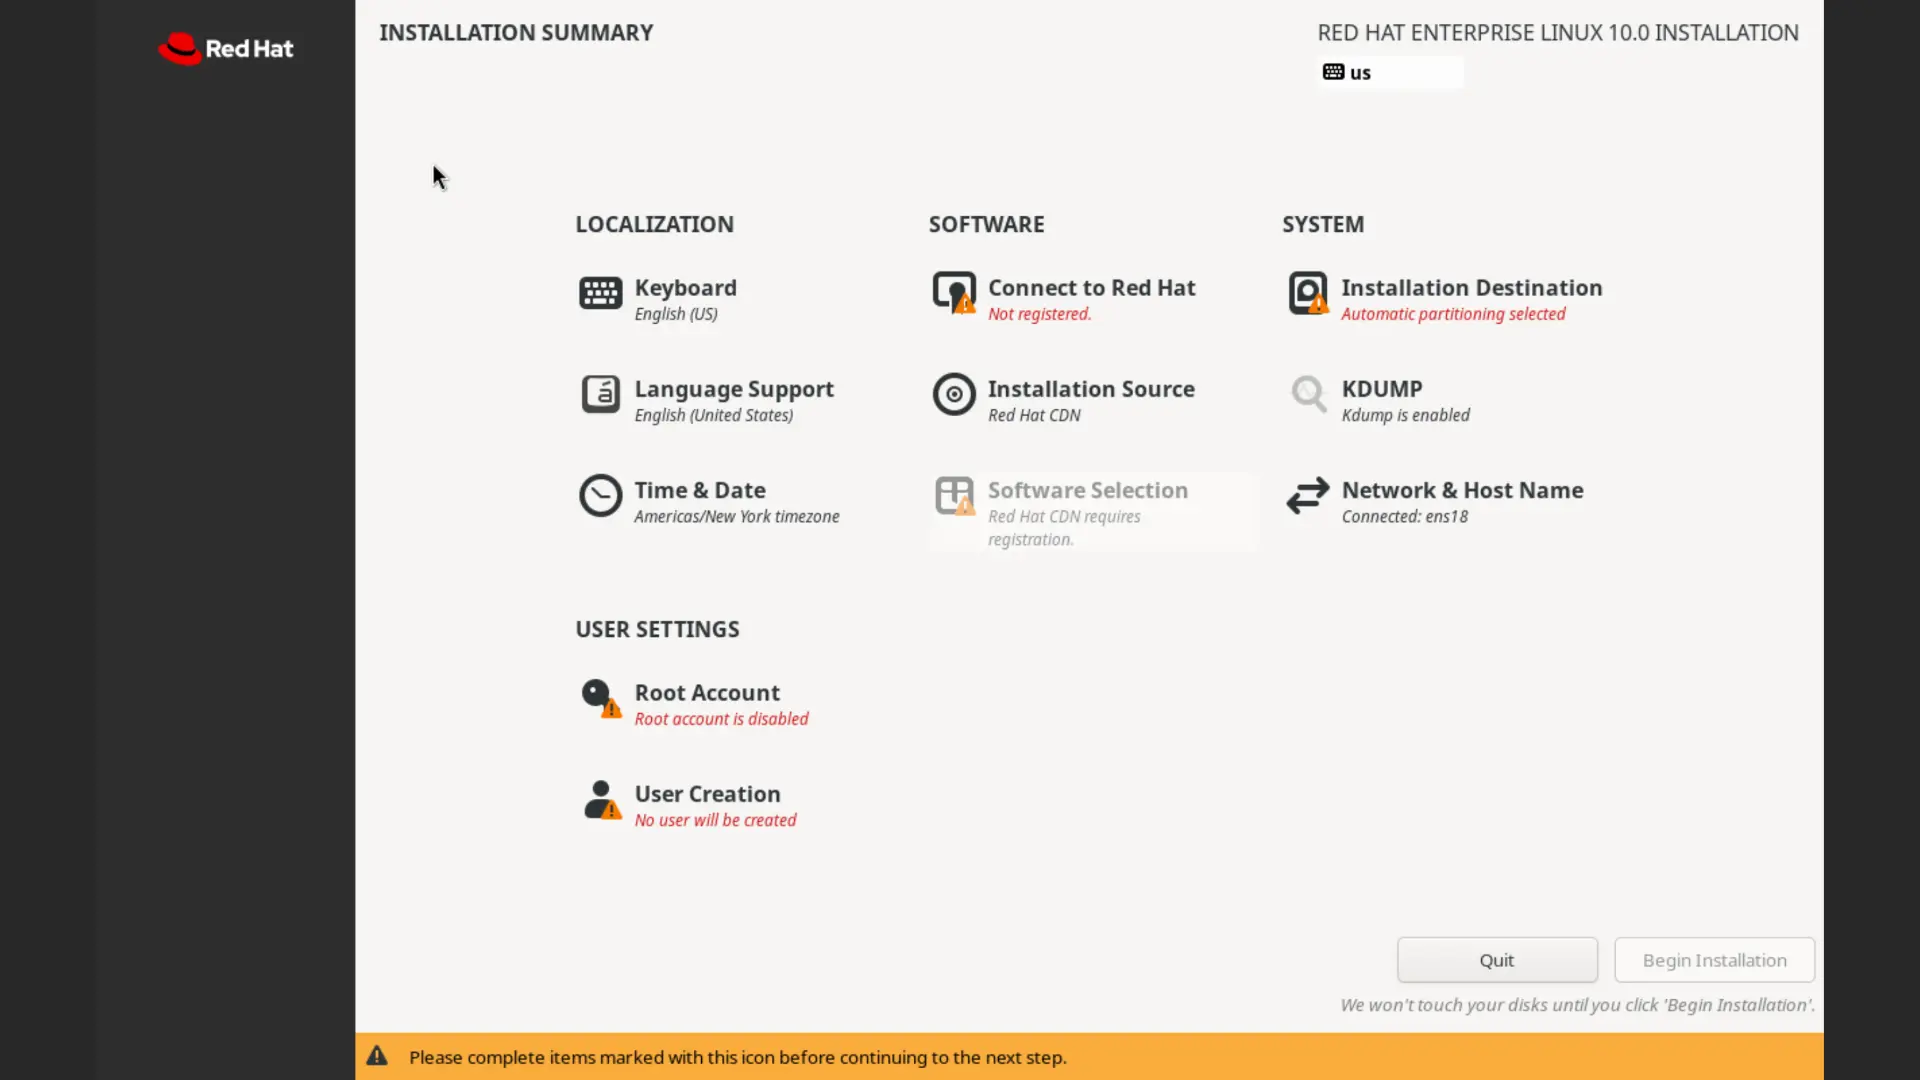
- Time & Date: Set the correct time zone.
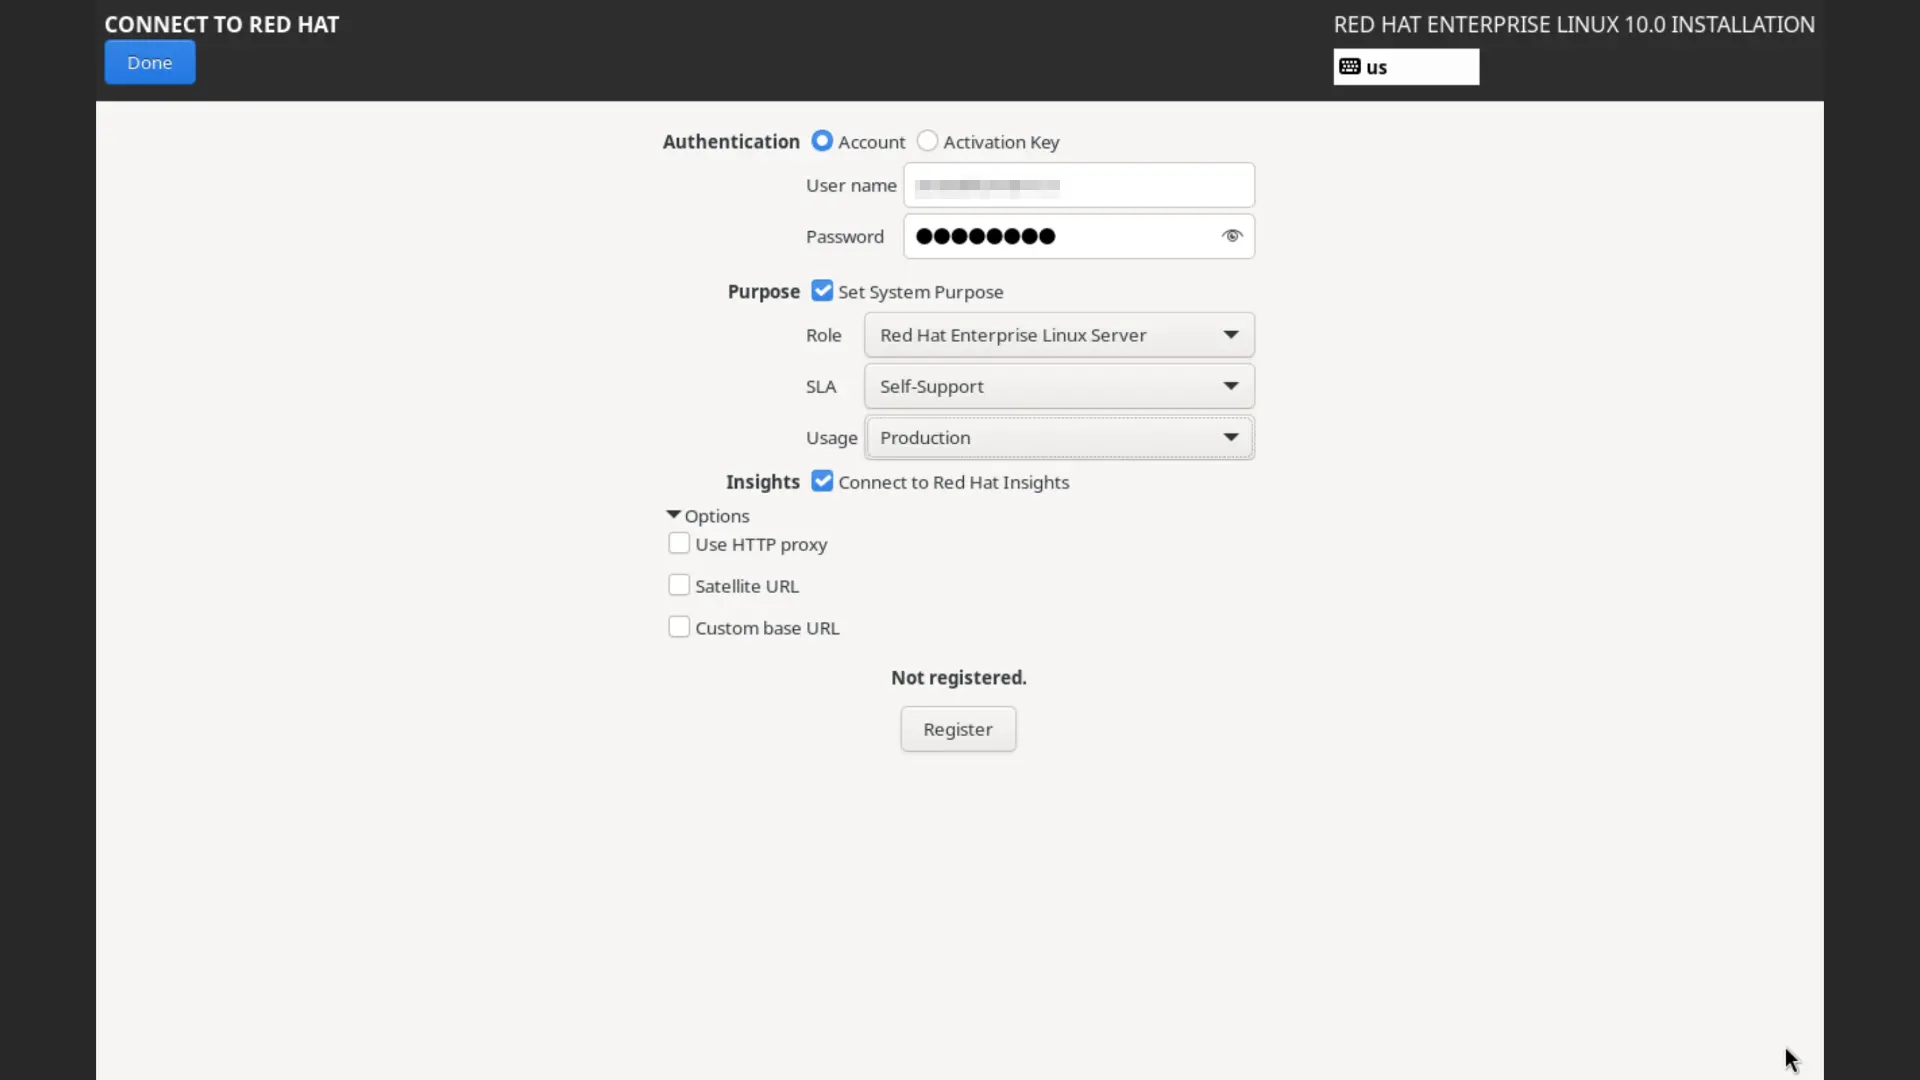
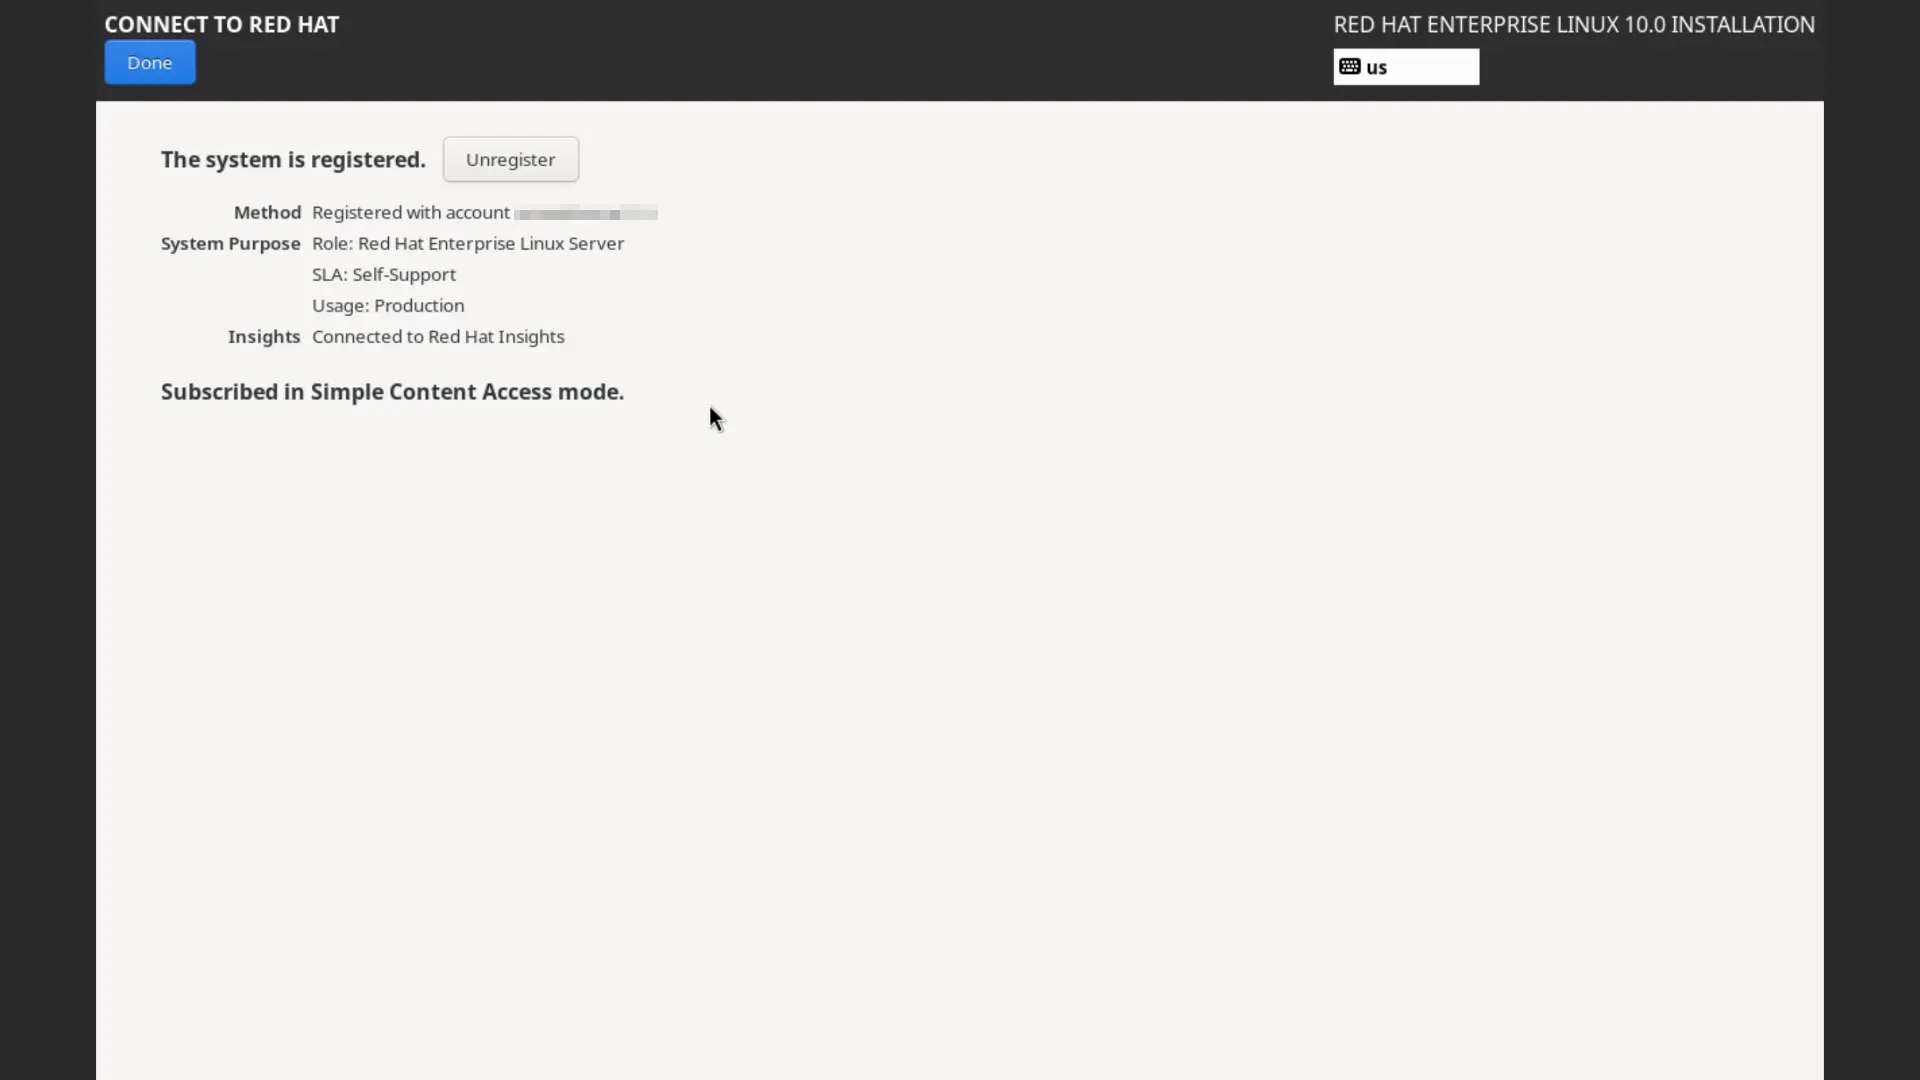
- Connect to Red Hat: Registering system with Red Hat for access to official repositories, security patches, and other resources necessary
- Software Selection: Choose the desired software packages.

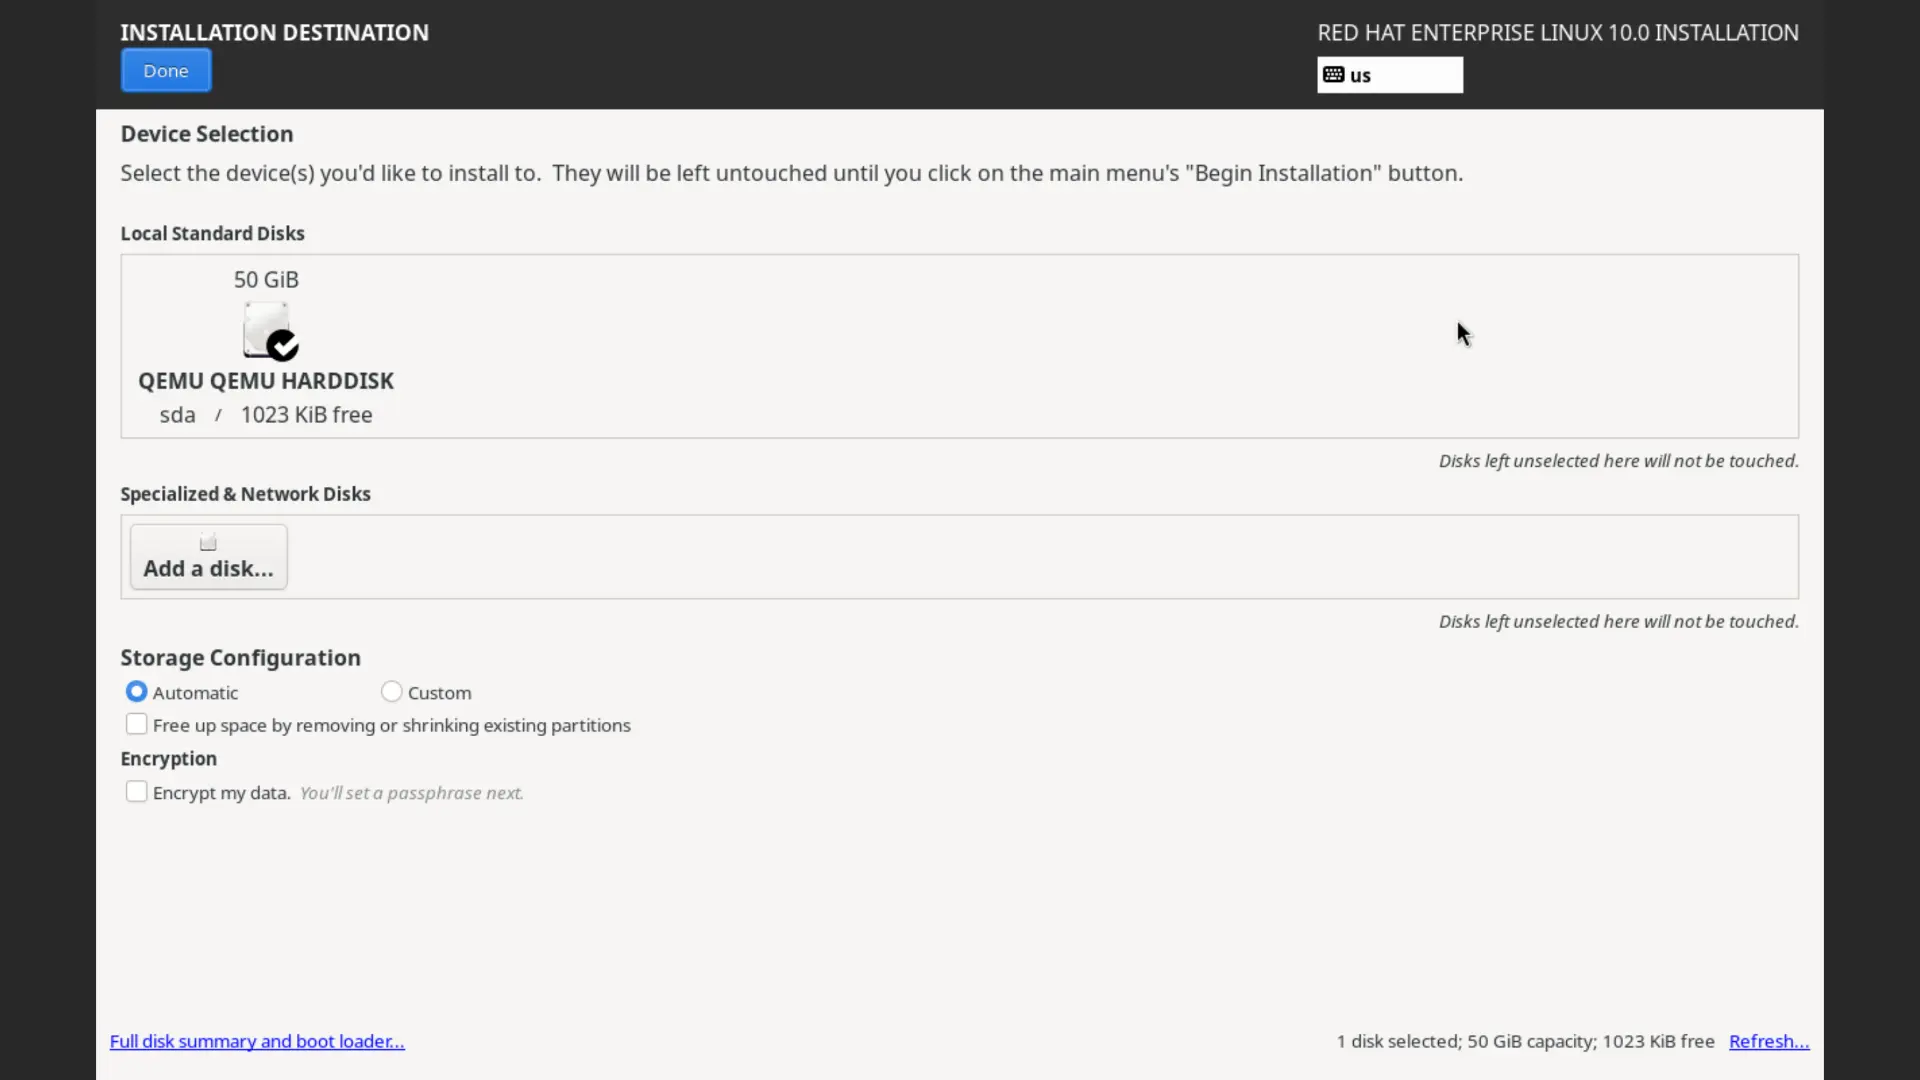
- Installation Destination: Configure disk partitioning (automatic or manual).
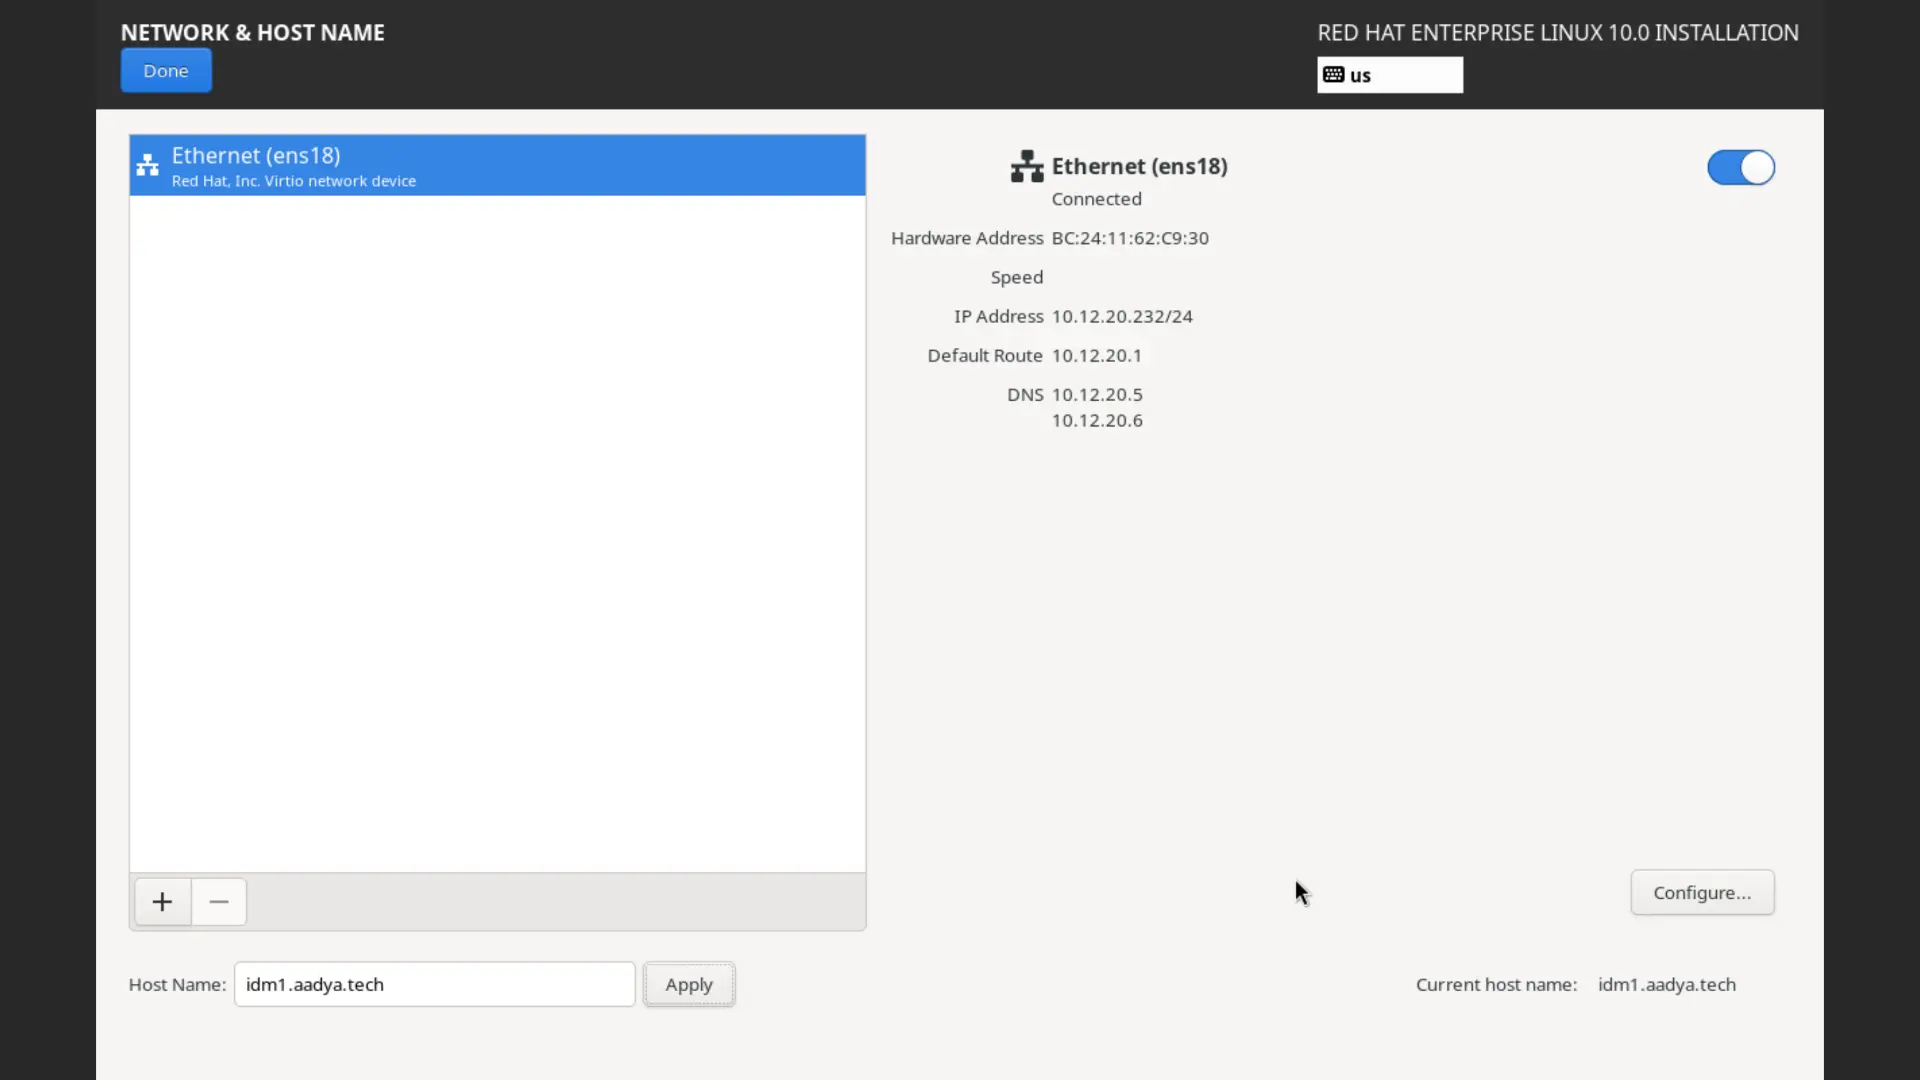
- Network & Host Name: Configure network settings and set a hostname.
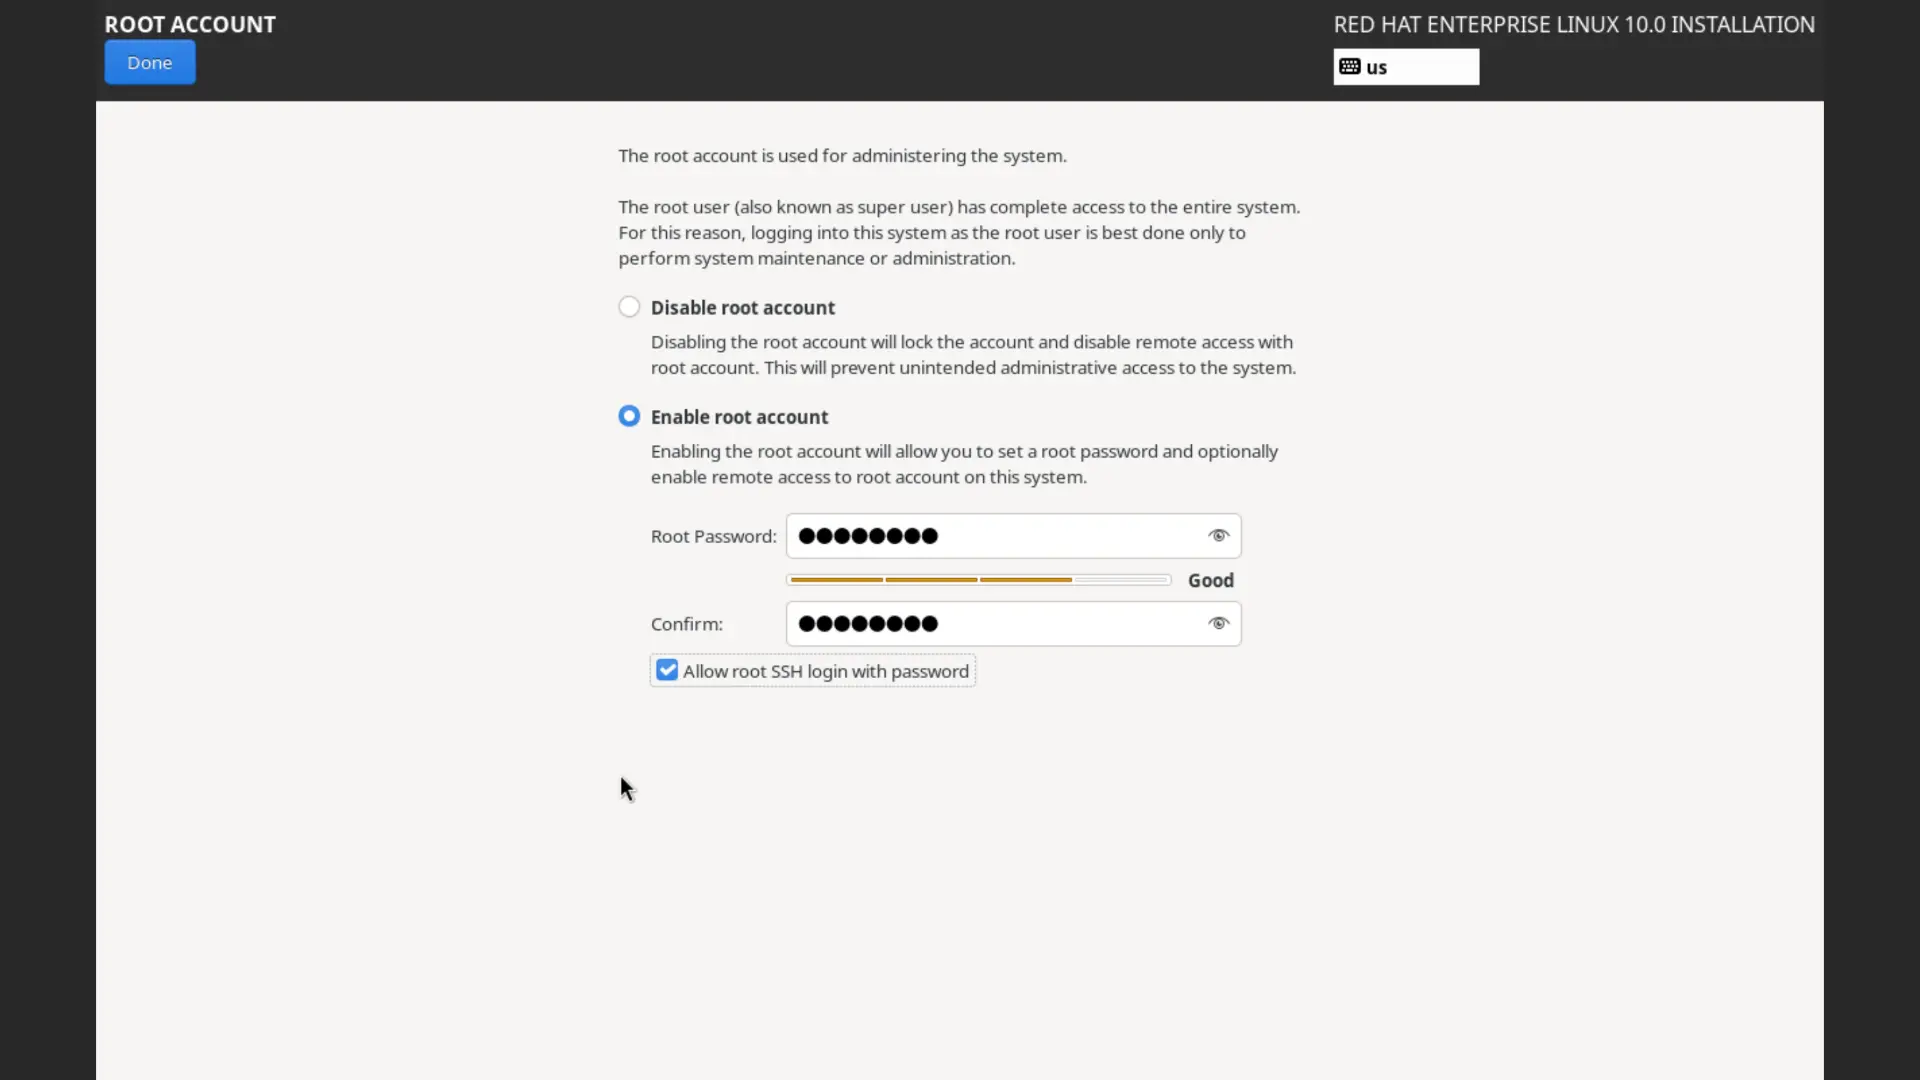
- Root Account: Set a password for the root user. (Must be created if not creating a user account with administrative privileges)
- User Creation: Create a standard user account with administrative privileges. (Must be created if not creating a root account)
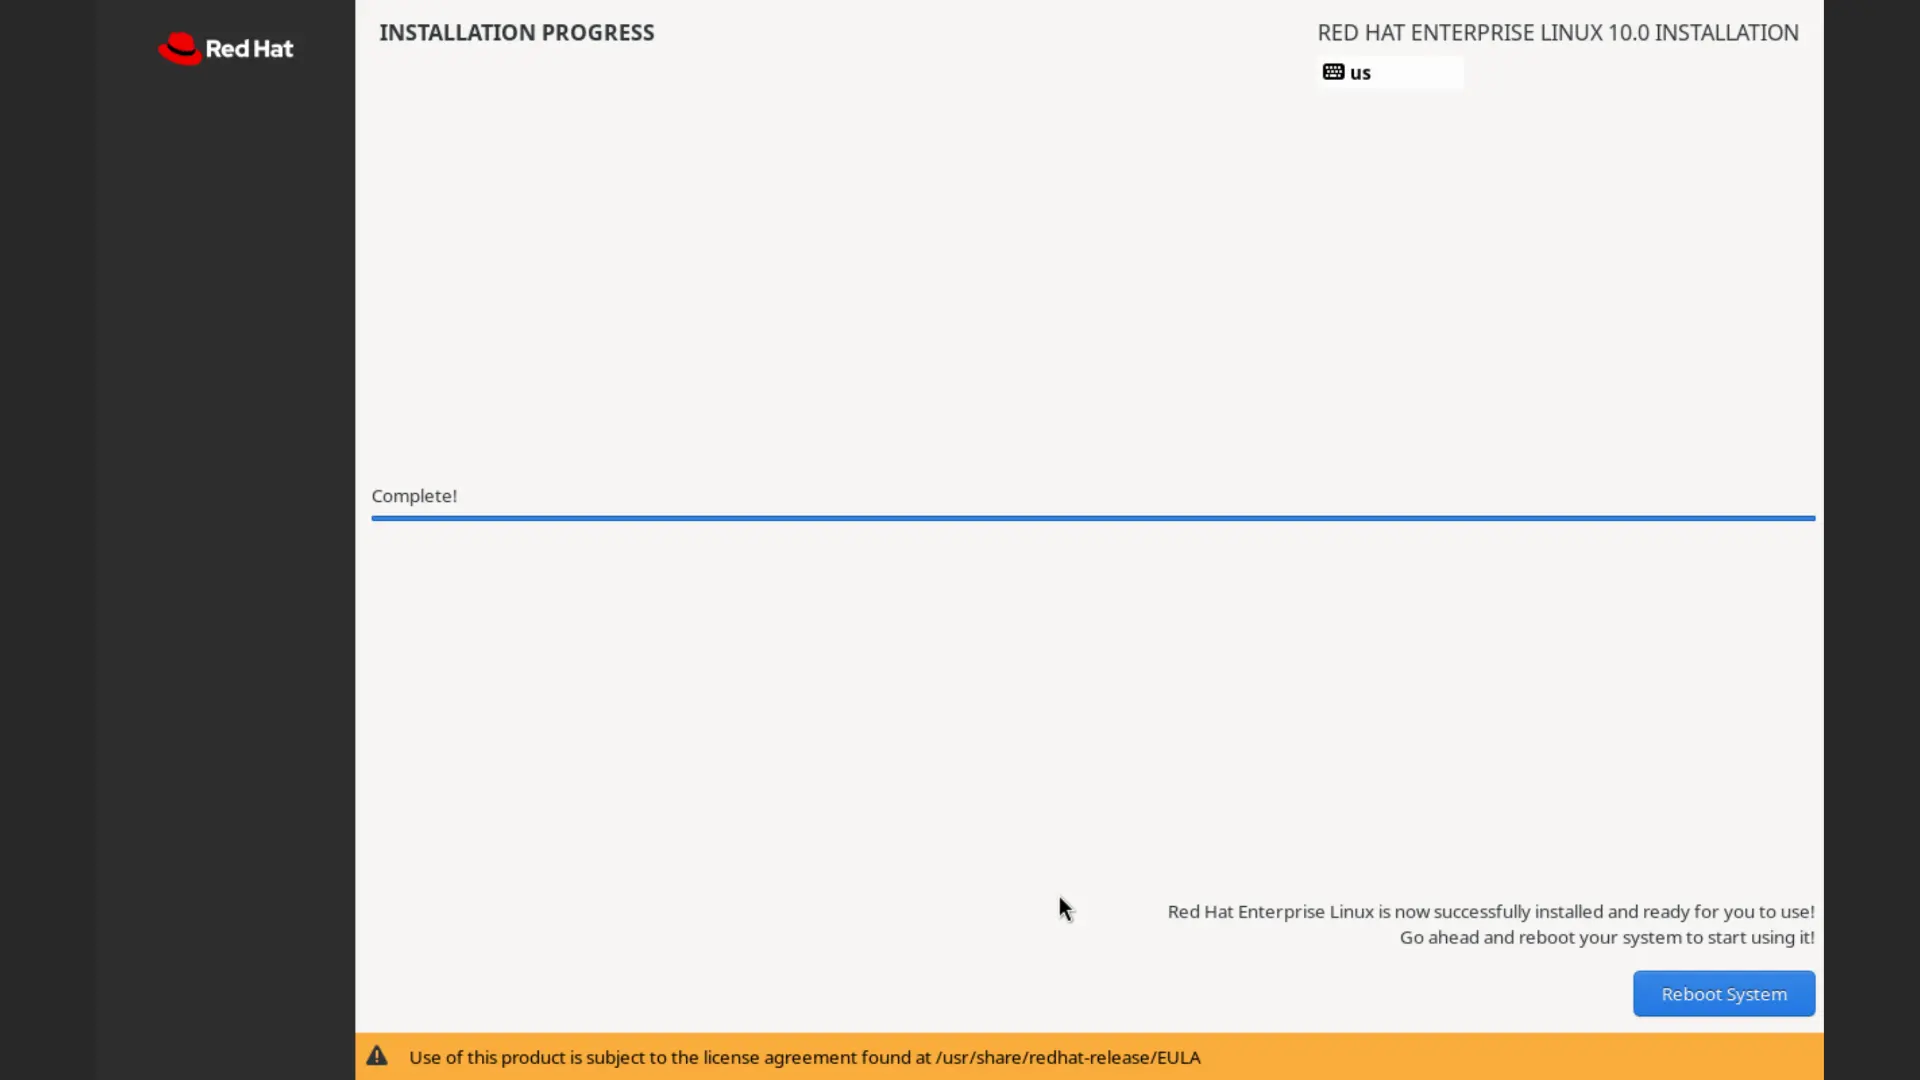
- Begin Installation: After configuring all settings, click "Begin Installation".
- Monitor Progress: The installation process will be displayed.
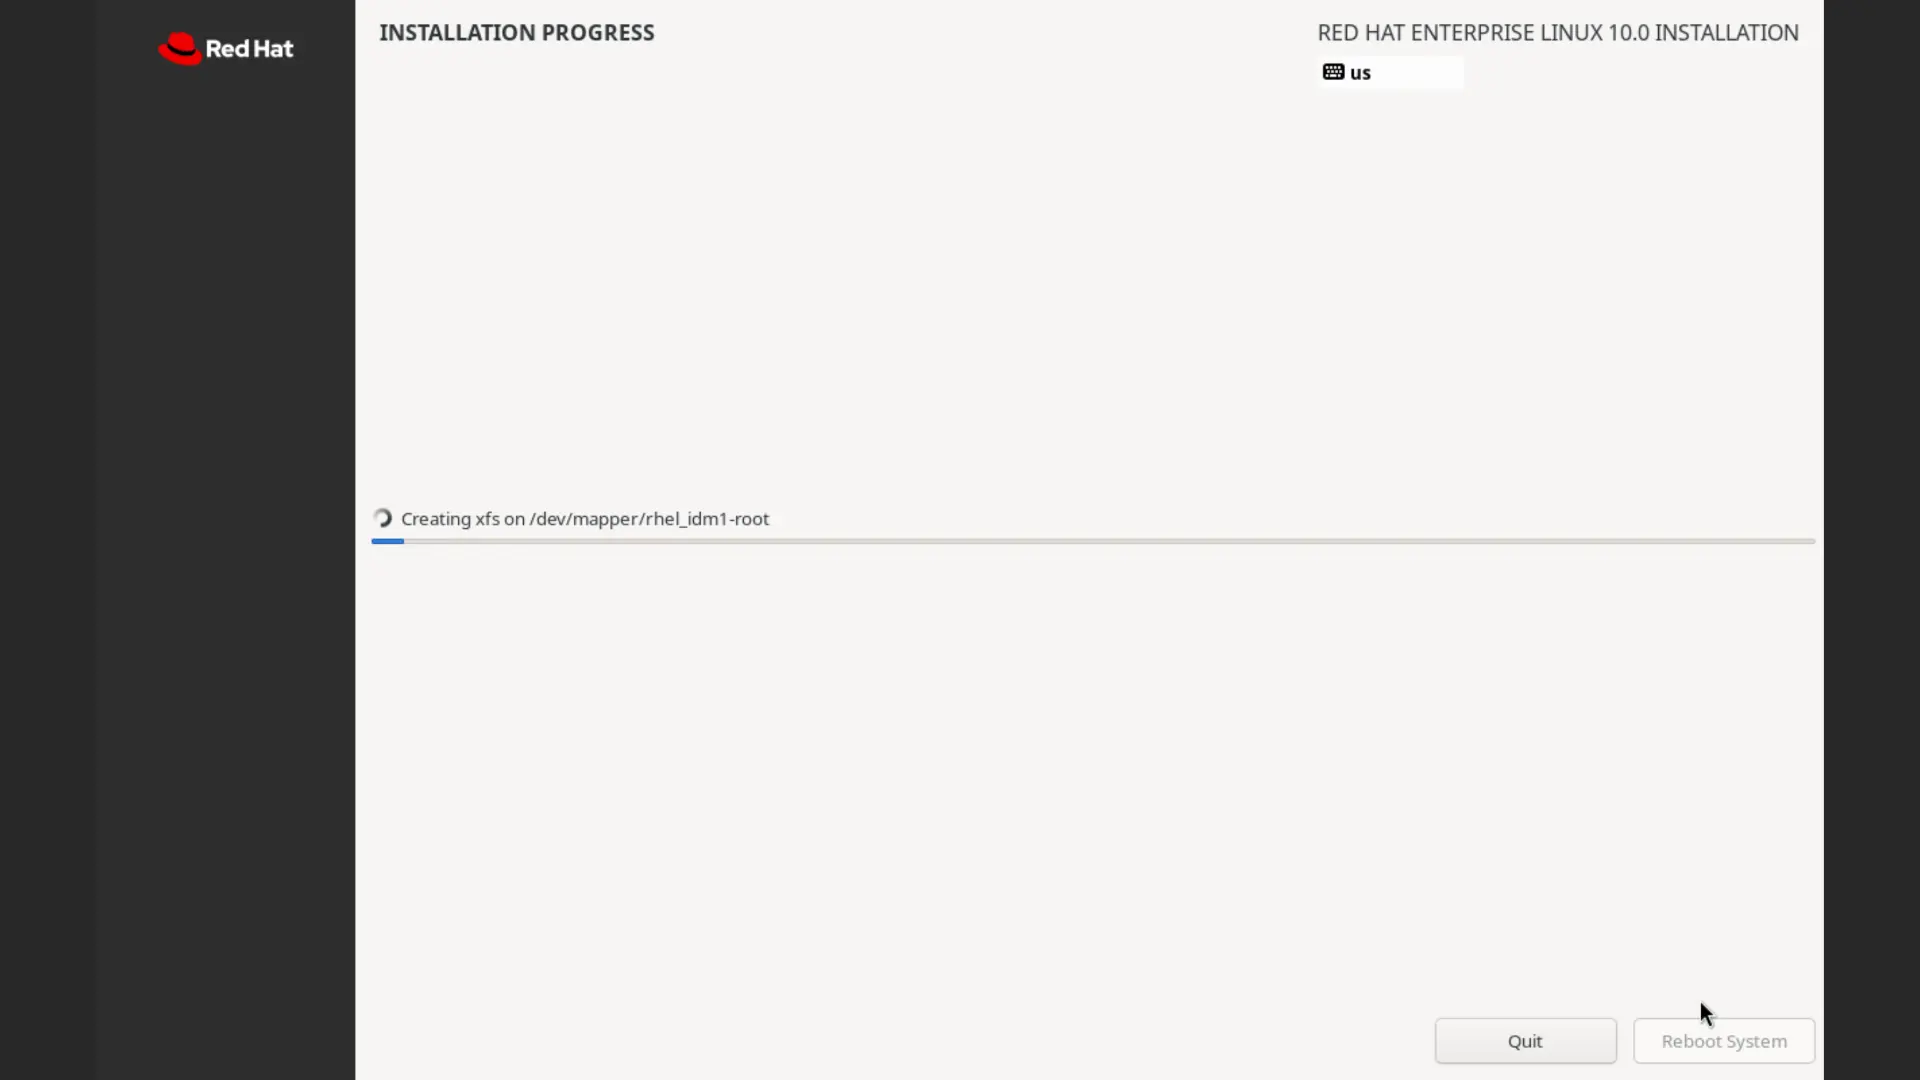
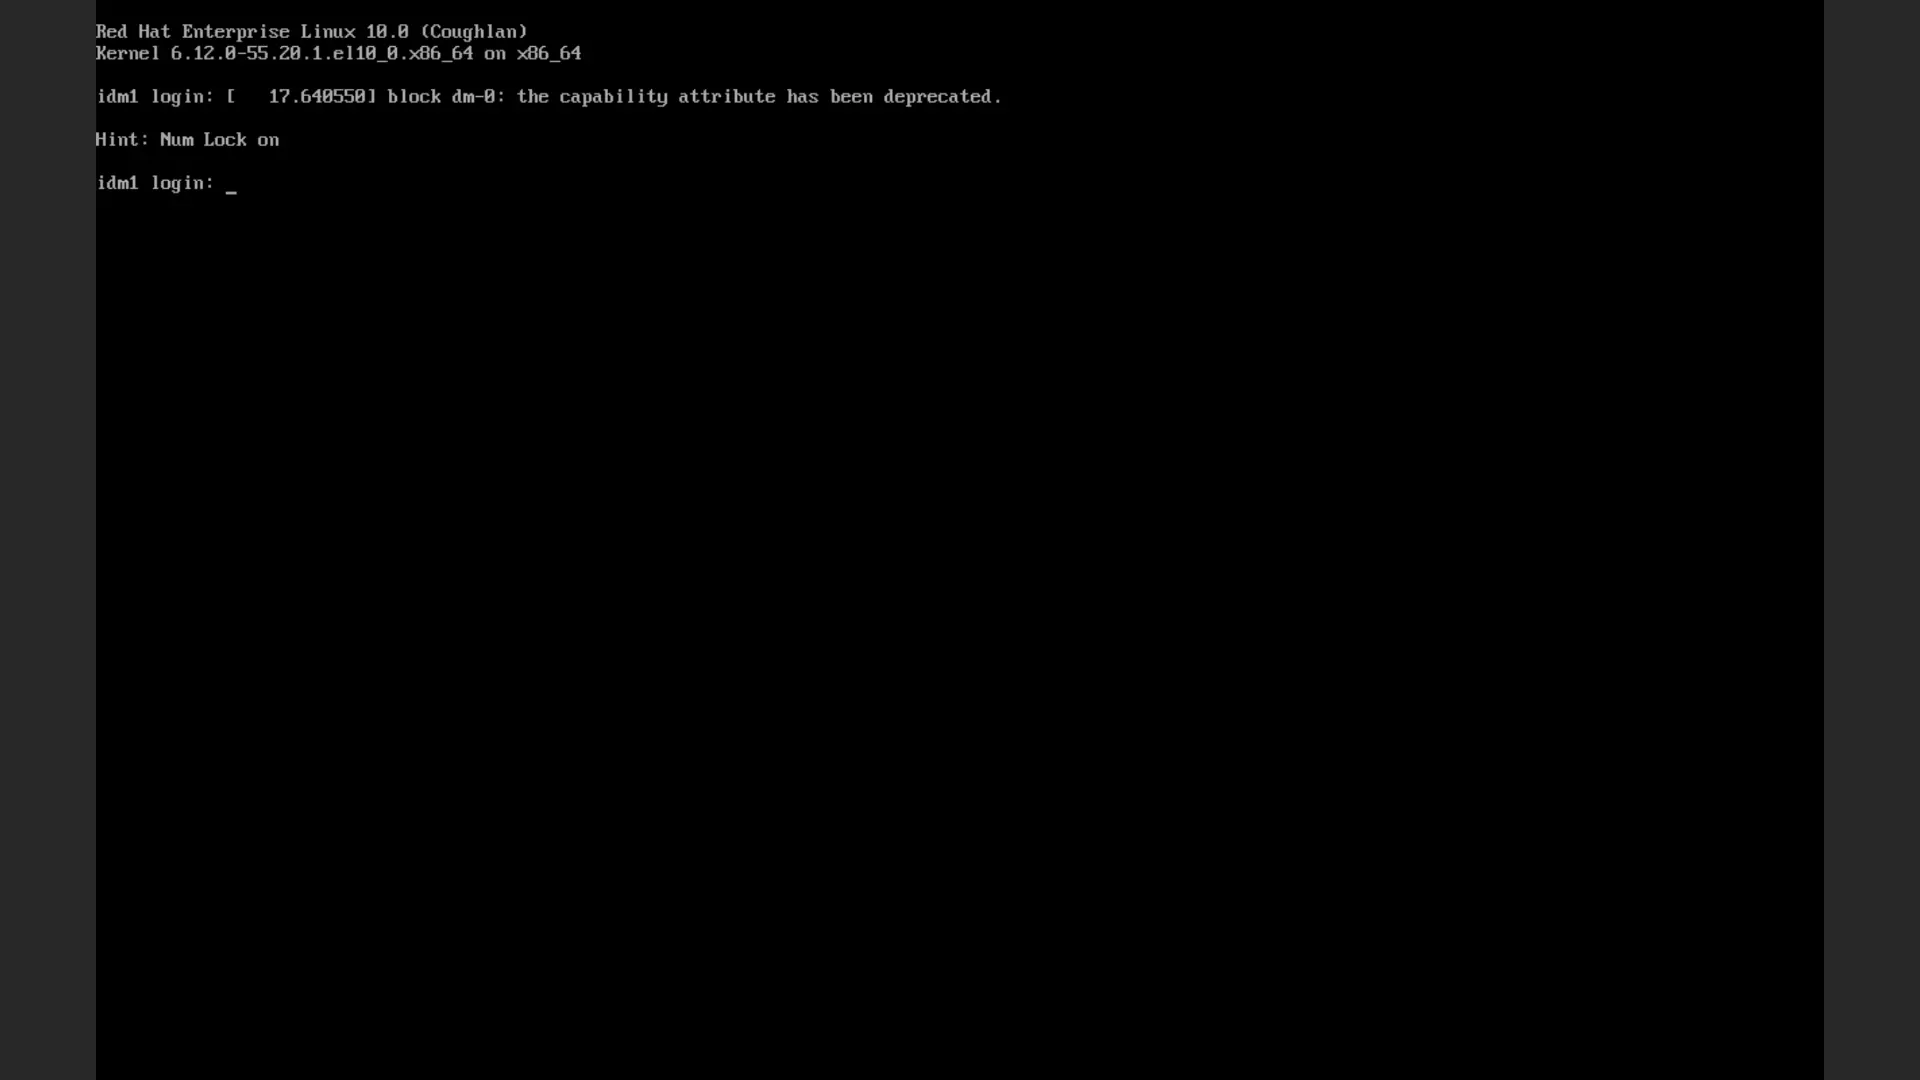
- Reboot: Once the installation is complete, reboot the system.